


A plugin can sometimes conflict with another plugin, your theme or the WordPress core software. If your website develops an error after installing or updating a plugin, you can isolate the cause systematically.
1. Identify when the problem started
Think about what changed immediately before the problem appeared.
Check whether you recently:
- Installed a plugin
- Updated a plugin
- Updated WordPress
- Changed your theme
- Changed another
- website setting
If the problem appeared immediately after a plugin update or installation, start by investigating that plugin.
2. Back up your website
Create a recent backup before disabling plugins or making further changes. If possible, work on a staging site rather than making diagnostic changes directly on a live website.
3. Deactivate plugins
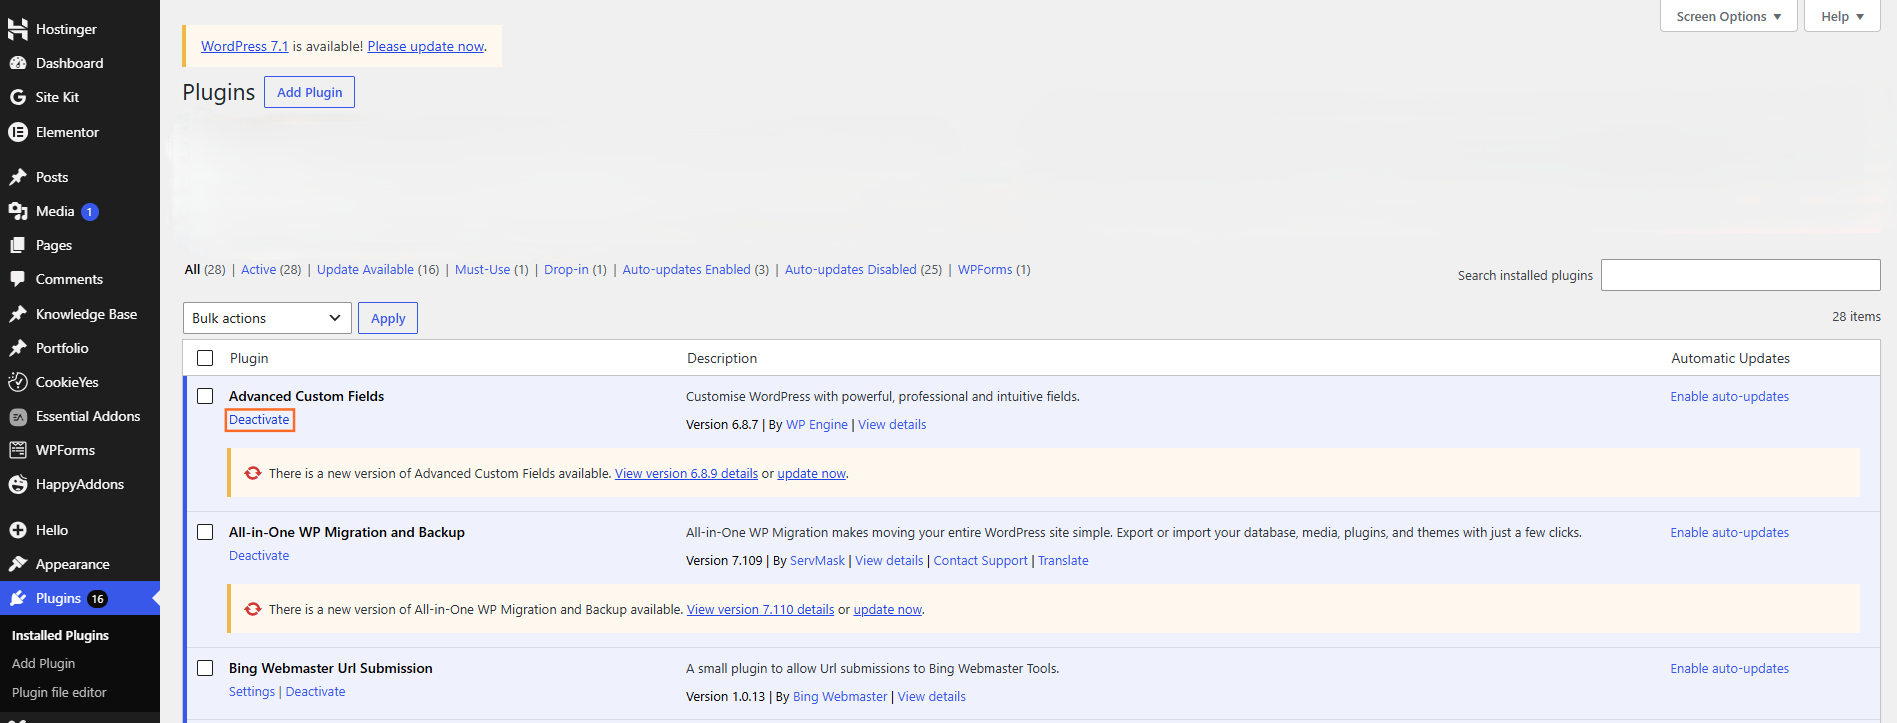
From the WordPress dashboard, go to Plugins → Installed Plugins.
Deactivate the plugins and check whether the problem disappears.
If the website starts working normally, a plugin is likely involved.
4. Reactivate plugins one at a time
Reactivate the plugins individually and test the website after each activation.
When the problem returns, the most recently activated plugin is a strong candidate.
This method is more reliable than guessing based only on the plugin’s name or purpose.
5. Check for plugin conflicts
The problem may involve an interaction between two plugins rather than one plugin being defective.
If necessary, deactivate the suspected plugin and test the website with the other plugins active. You can also check the plugin developer’s support information for known compatibility issues.
6. Check other possible causes
If disabling plugins does not solve the problem, investigate the theme, WordPress core, custom code, hosting environment or other recent changes.
Avoid deleting a plugin simply because it was active when the problem occurred. First identify the cause and check whether the plugin is actually responsible.

 Salesforce

