


Setting up Google Analytics 4 (GA4) is the essential first step for any modern digital strategy, as it uses an event-based data model to track the entire user journey across both websites and apps. The process is broken into three main phases: account creation, data stream setup, and tag implementation.
Step 1: Create the GA4 Property and Data Stream
The property is the container for your data, and the data stream is the source (your website).
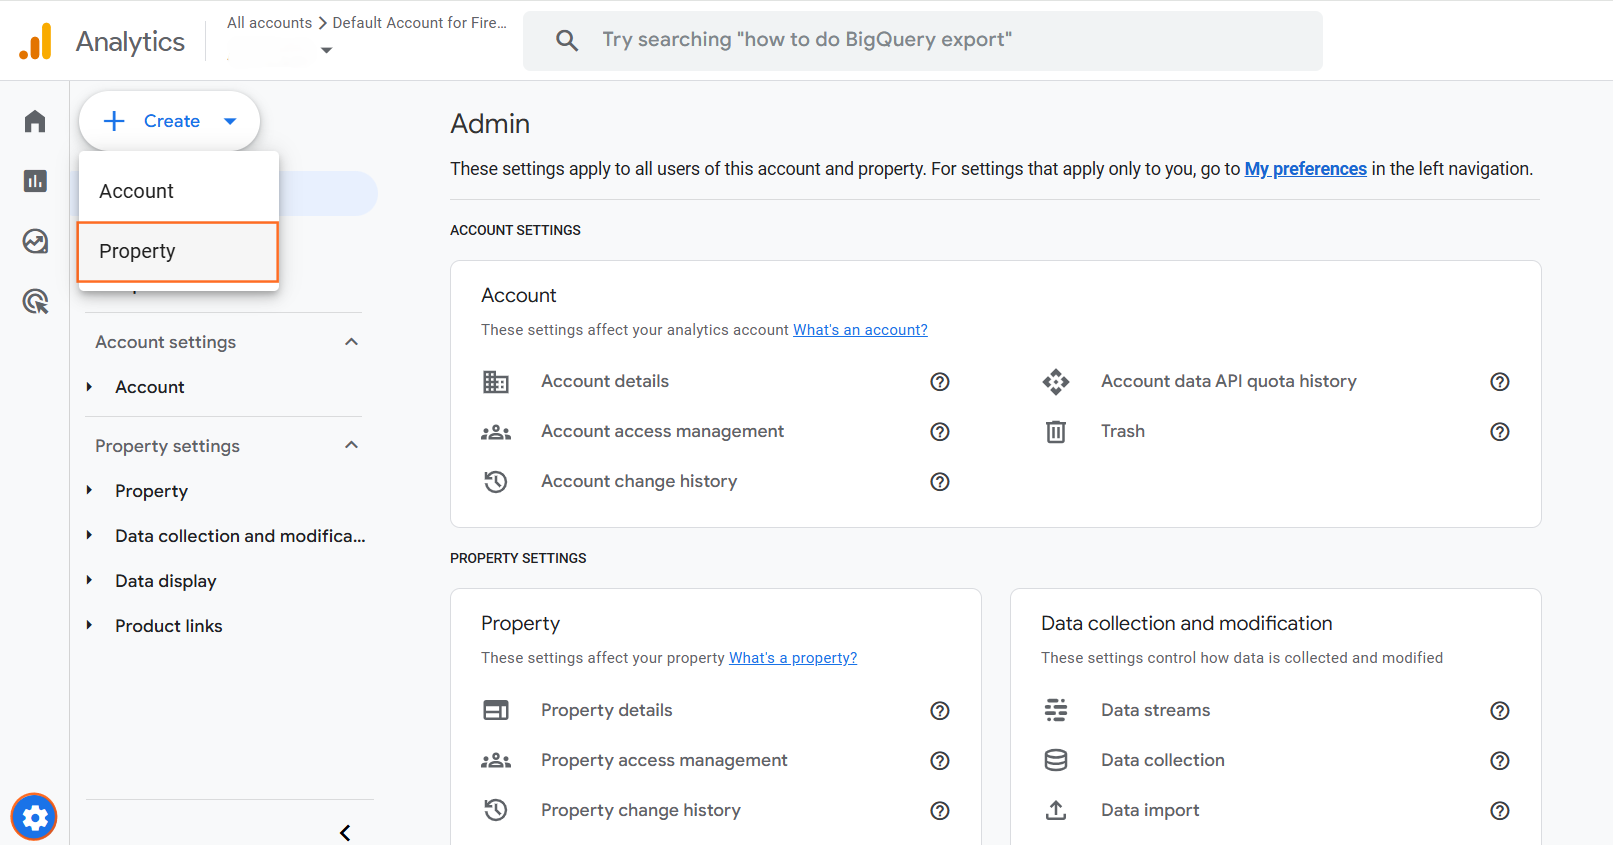
- Create Account (If New): Go to Google Analytics and sign in with your Google Account. If you don’t have an Analytics account, click “Create account”.
- Create Property: In the Admin section (gear icon in the left bottom corner), click “+ Create” then “Property”.
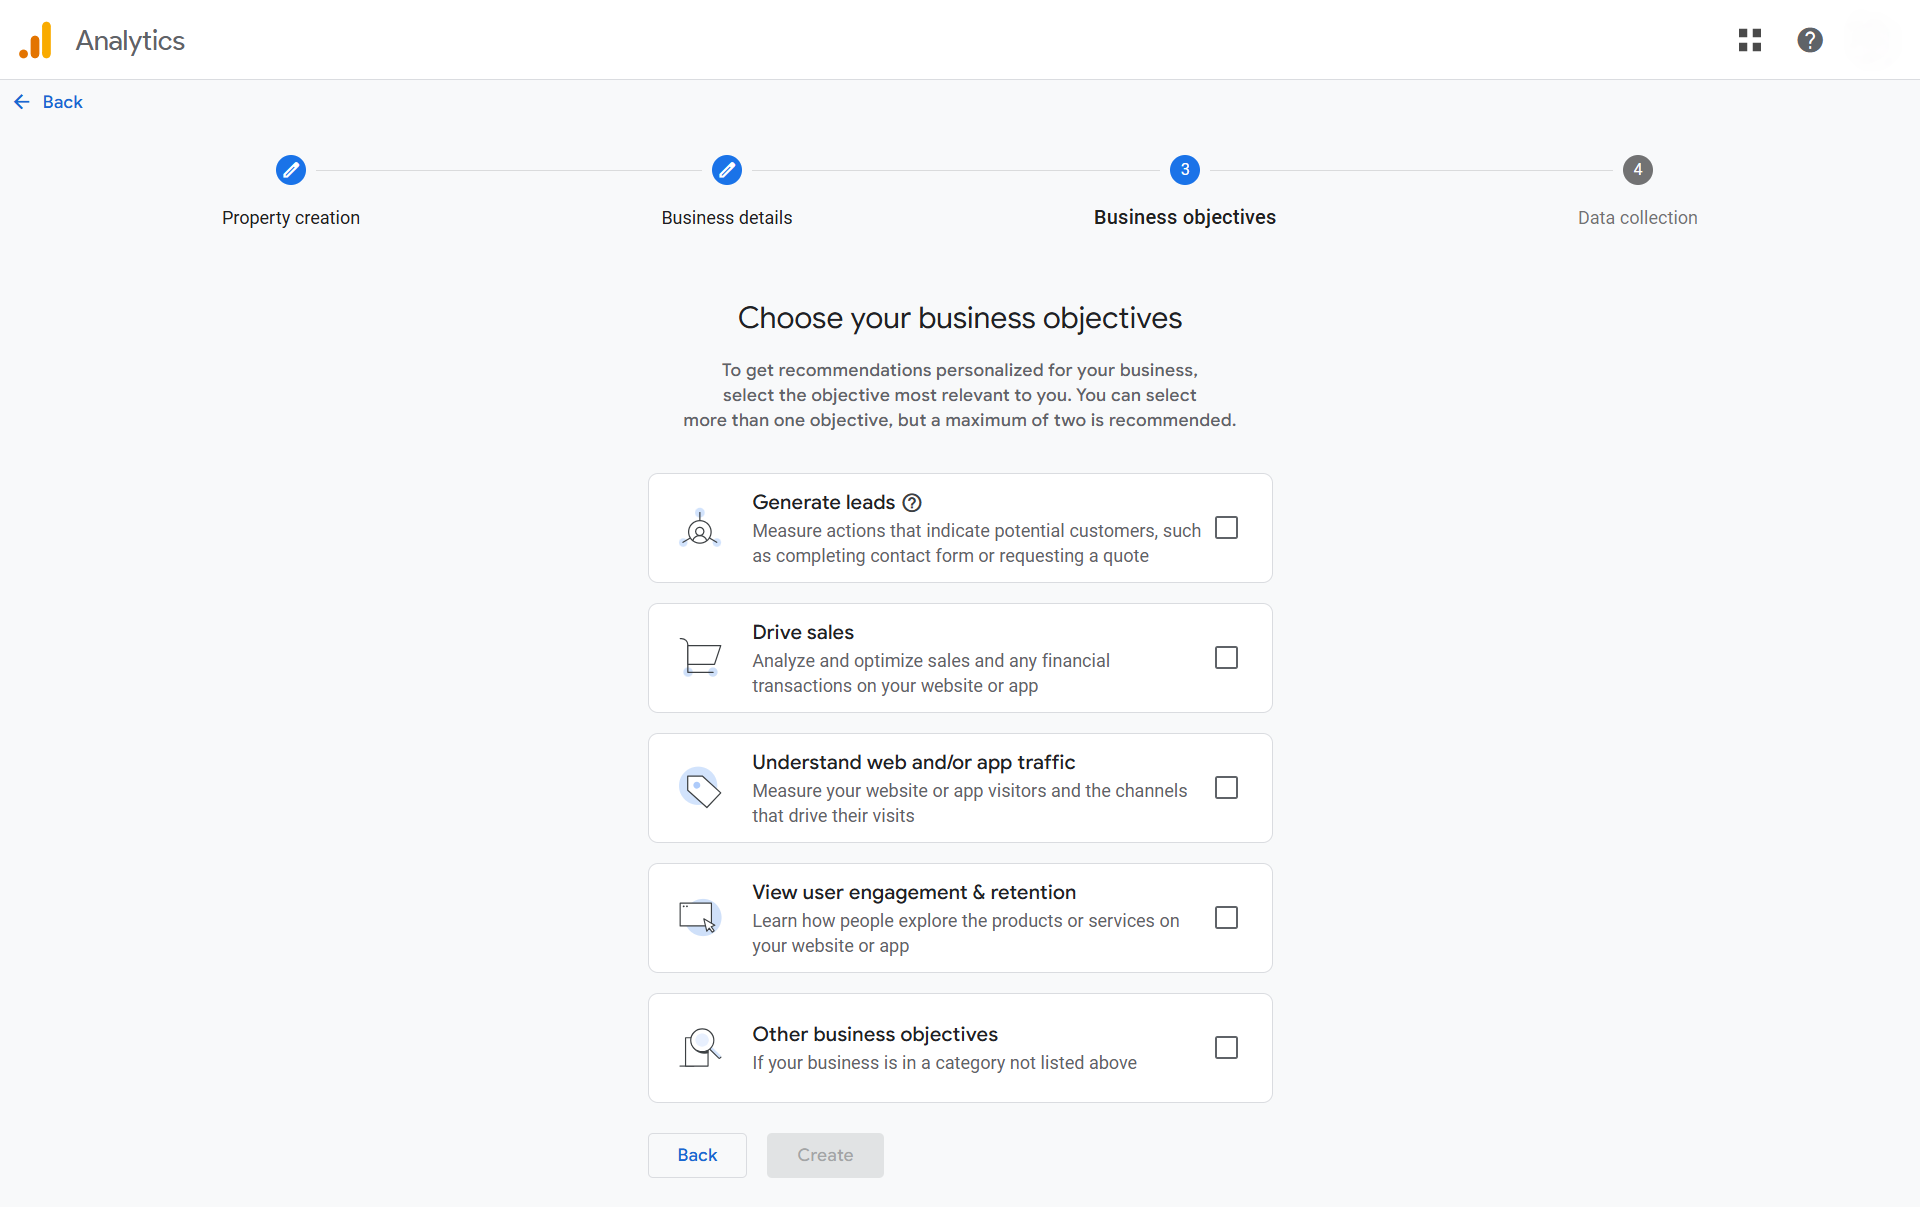
- Enter a Property name (e.g., “UTDS Optimal Choice”).
- Select your Reporting Time Zone and Currency (e.g., London, GBP).
- Answer the questions about your Industry Category and Business Size, and select your Business Objectives (this tailors your default reports). Click “Create”.
- Create Data Stream: Immediately after creating the property, you’ll be prompted to Add a data stream. Select “Web”.
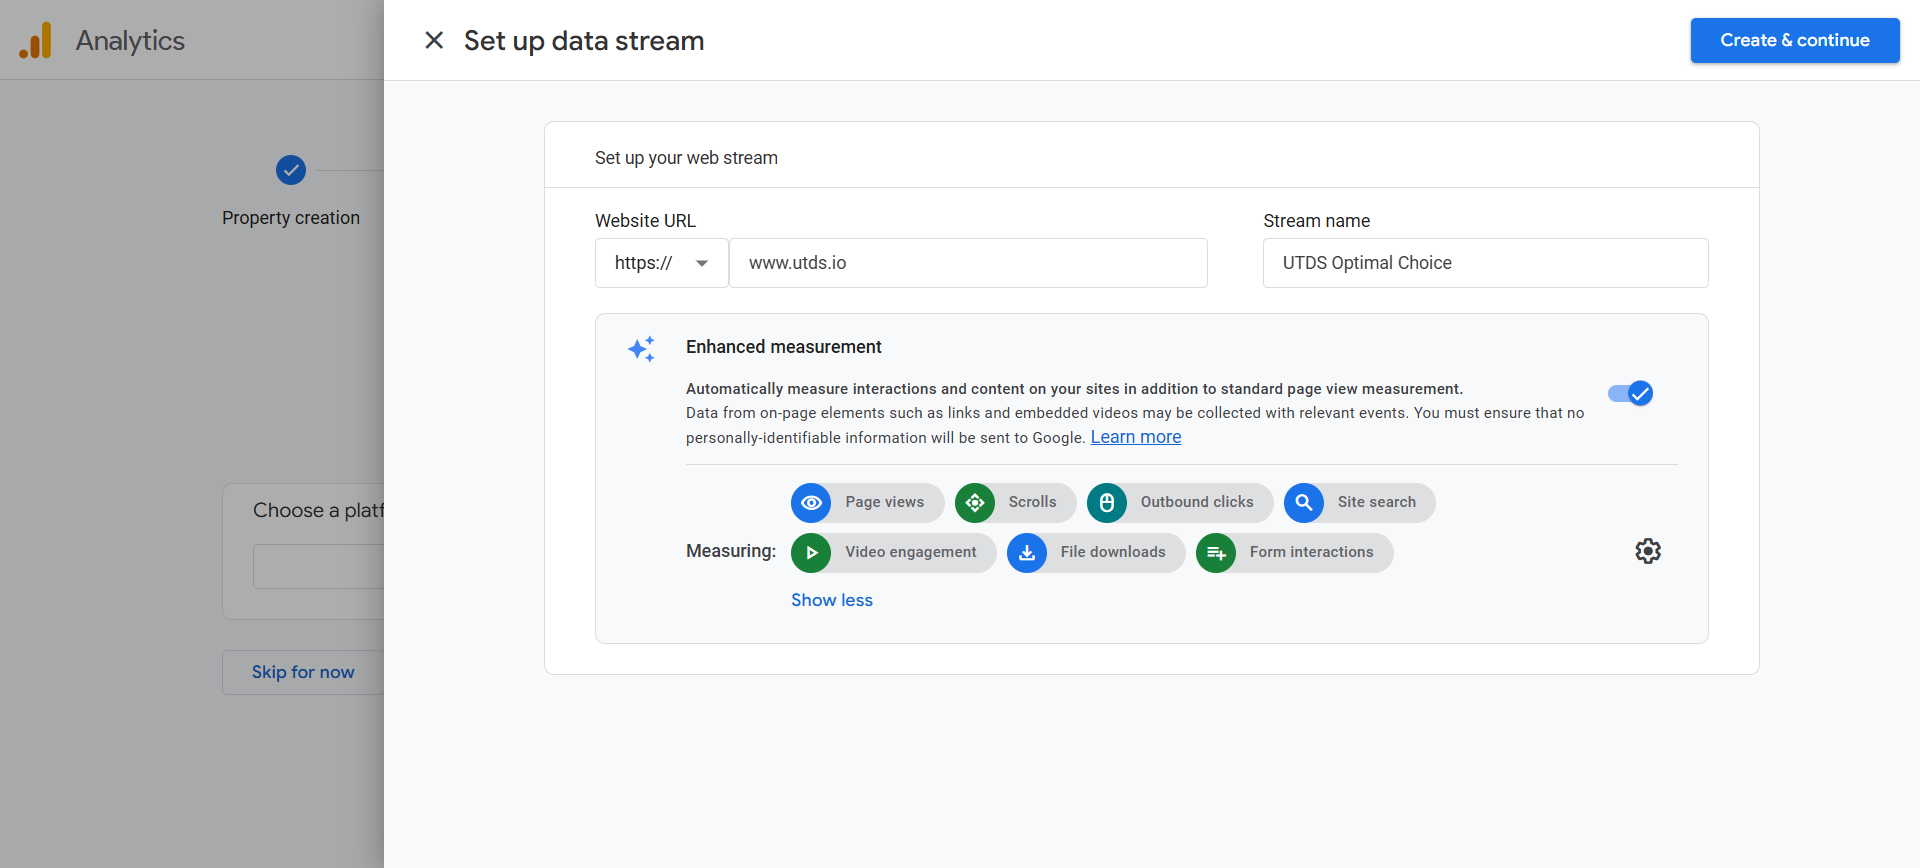
- Enter your Website URL (e.g., https://utds.al/).
- Enter a Stream name (e.g., “Main Website Stream”).
- Ensure Enhanced Measurement is enabled (it tracks scrolls, outbound clicks, video engagement, etc., automatically).
- Click “Create stream”.
- Save the Measurement ID: Once the stream is created, you will see a Measurement ID (it starts with G-XXXXXXXXXX). Save this ID as it is needed for the next step.
Step 2: Install the GA4 Code on Your Website
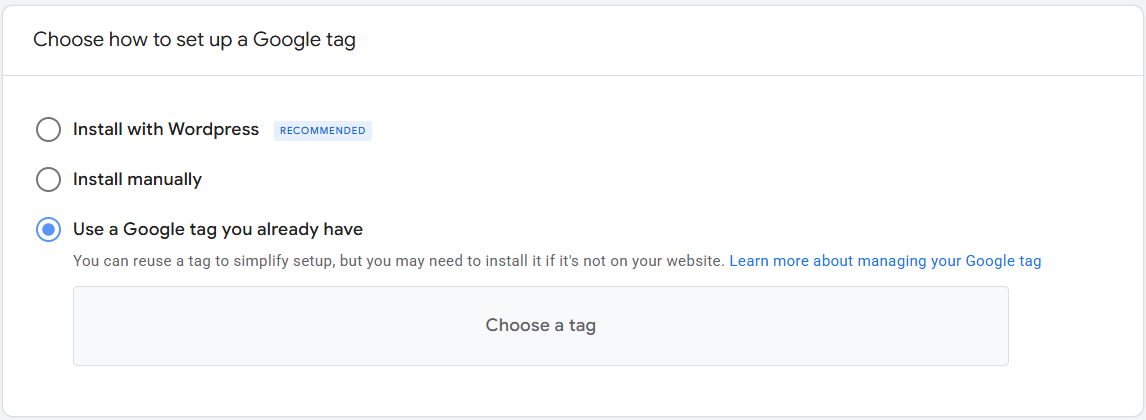
You need to place a code snippet (the Google tag) on every page of your website. The optimal method depends on your technical skill and Content Management System (CMS).
Installation Method | Optimal Use Case | Instructions |
Google Tag Manager (GTM) | Recommended. Best for managing GA4 events and other marketing tags in one place. | 1. In GTM, create a New Tag. 2. Select Google Tag. 3. Enter your Measurement ID (G-XXXXXX). 4. Set the Trigger to “Initialization – All Pages”. 5. Publish the GTM container. |
CMS Integration/Plugin | Best for platforms like WordPress, Shopify, or Wix that have native integration options. | Install the platform’s official Google Analytics plugin (e.g., Site Kit for Google on WordPress) and paste your Measurement ID into the designated field in the plugin’s settings. |
Manual (Global Site Tag) | Best if you have access to your site’s header code and are not using GTM. | In GA4, go to the Web Stream Details, click “View tag instructions,” then “Install manually.” Copy the full code snippet and paste it immediately after the opening <head> tag on every page of your website. |
Step 3: Verify and Configure
It can take up to 30 minutes for data to appear. Verification is not optional.
- Verify Real-Time Data: Browse your website in one tab. In your GA4 property, go to the Realtime report. You should see your activity appear immediately, confirming the tag is firing correctly.
- Use DebugView: For technical testing, use the Google Analytics Debugger Chrome extension or GTM’s Preview Mode. The DebugView report in GA4 will show every event being sent in real-time.
- Post-Setup Configuration:
- Exclude Internal Traffic: Define your office IP addresses as internal traffic in the Data Streams settings, then create a Data Filter to exclude it from reports (prevents your own data from skewing metrics).
- Increase Data Retention: In Admin > Data Settings > Data Retention, change the event data retention from the default 2 months to 14 months to allow for long-term trend analysis.

 Salesforce

