


To track Campaign ROI in Salesforce, you must utilize the standard Campaigns with Opportunities report type. Salesforce calculates ROI automatically by comparing the Total Value of Won Opportunities against the Actual Cost of the campaign.
Step 1: Prerequisite: Data Entry
For ROI to calculate correctly, two specific pieces of data must be present:
- Actual Cost: On the Campaign record, you must fill in the “Actual Cost” field.
- Opportunity Link: Opportunities must be linked to the campaign via the Primary Campaign Source field.
Step 2: Create the ROI Report
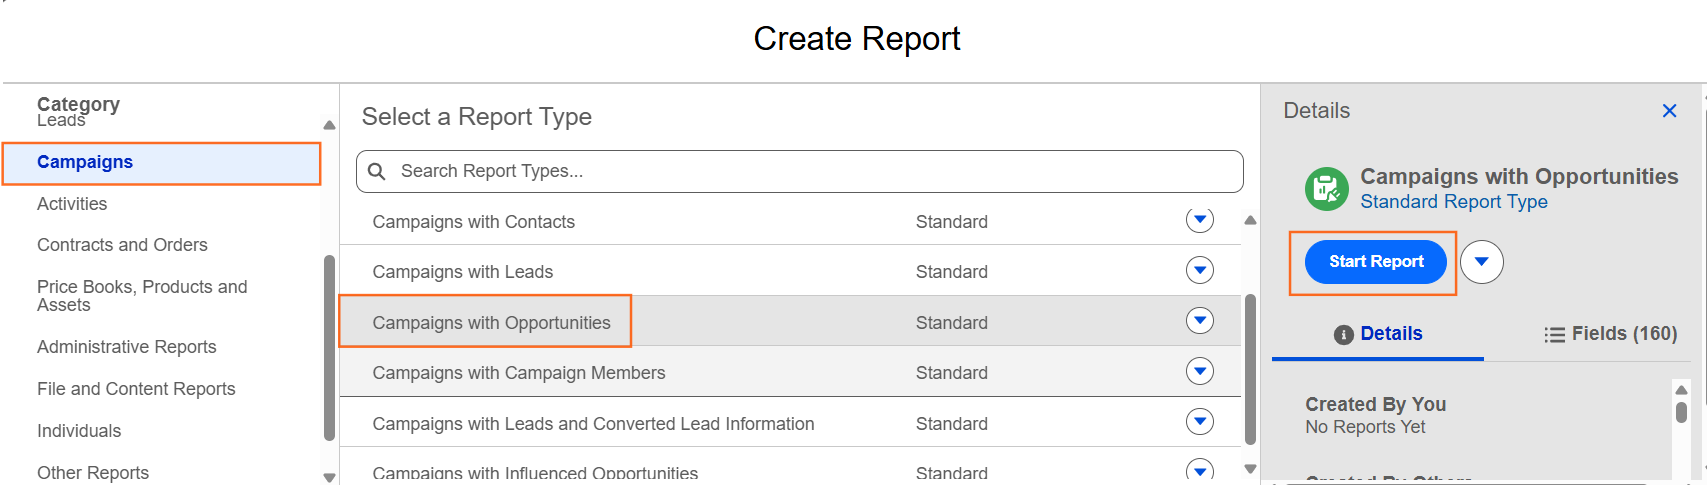
- Navigate to the Reports tab and click New Report.
- Search for and select the report type: Campaigns with Opportunities.
- Click Start Report.
Step 3: Apply Essential Filters
- Go to the Filters tab.
- Set Show Me to “All Campaigns.”
- Set Opportunity Status to Closed Won.
- Note: Standard ROI only measures “Won” money. If you want to see “Pipeline ROI,” set this to “Any.”
- Ensure the Actual Cost filter is set to “Greater than 0” to avoid “Division by Zero” errors in your calculations.
Step 4: Group the Data
- Go to the Outline tab.
- In the Group Columns section, search for and select Campaign Name.
- In the Columns section, ensure the following fields are present:
- Actual Cost
- Amount (Summed)
Step 5: Calculate the ROI Percentage
Salesforce provides a hidden field called ROI % in some report types, but it is often better to create a Summary Formula to ensure accuracy across grouped data.
- In the Outline tab, click the arrow next to Columns and select Add Summary Formula.
- Column Name: Campaign ROI (%).
- Formula Output Type: Percent.
- The Formula:
(Amount:SUM – Actual Cost:SUM) / Actual Cost:SUM - Click Apply.
Step 6: Visualize the Performance
- Click Add Chart.
- Select a Bar Chart to compare ROI across different campaigns.
- In the chart settings, set the X-Axis to “Campaign Name” and the Y-Axis to your new “Campaign ROI (%)” formula.

 Salesforce

