


Integrating Salesforce with Microsoft Outlook is a crucial step for sales and service teams, as it allows users to access and update Salesforce data directly within their email client. This improves productivity, ensures activities are logged accurately, and synchronizes key records between the two systems.
The optimal method is using the Salesforce Outlook Integration (formerly called Lightning for Outlook or Salesforce for Outlook).
Step 1: Prerequisites and Setup Activation (Salesforce Admin)
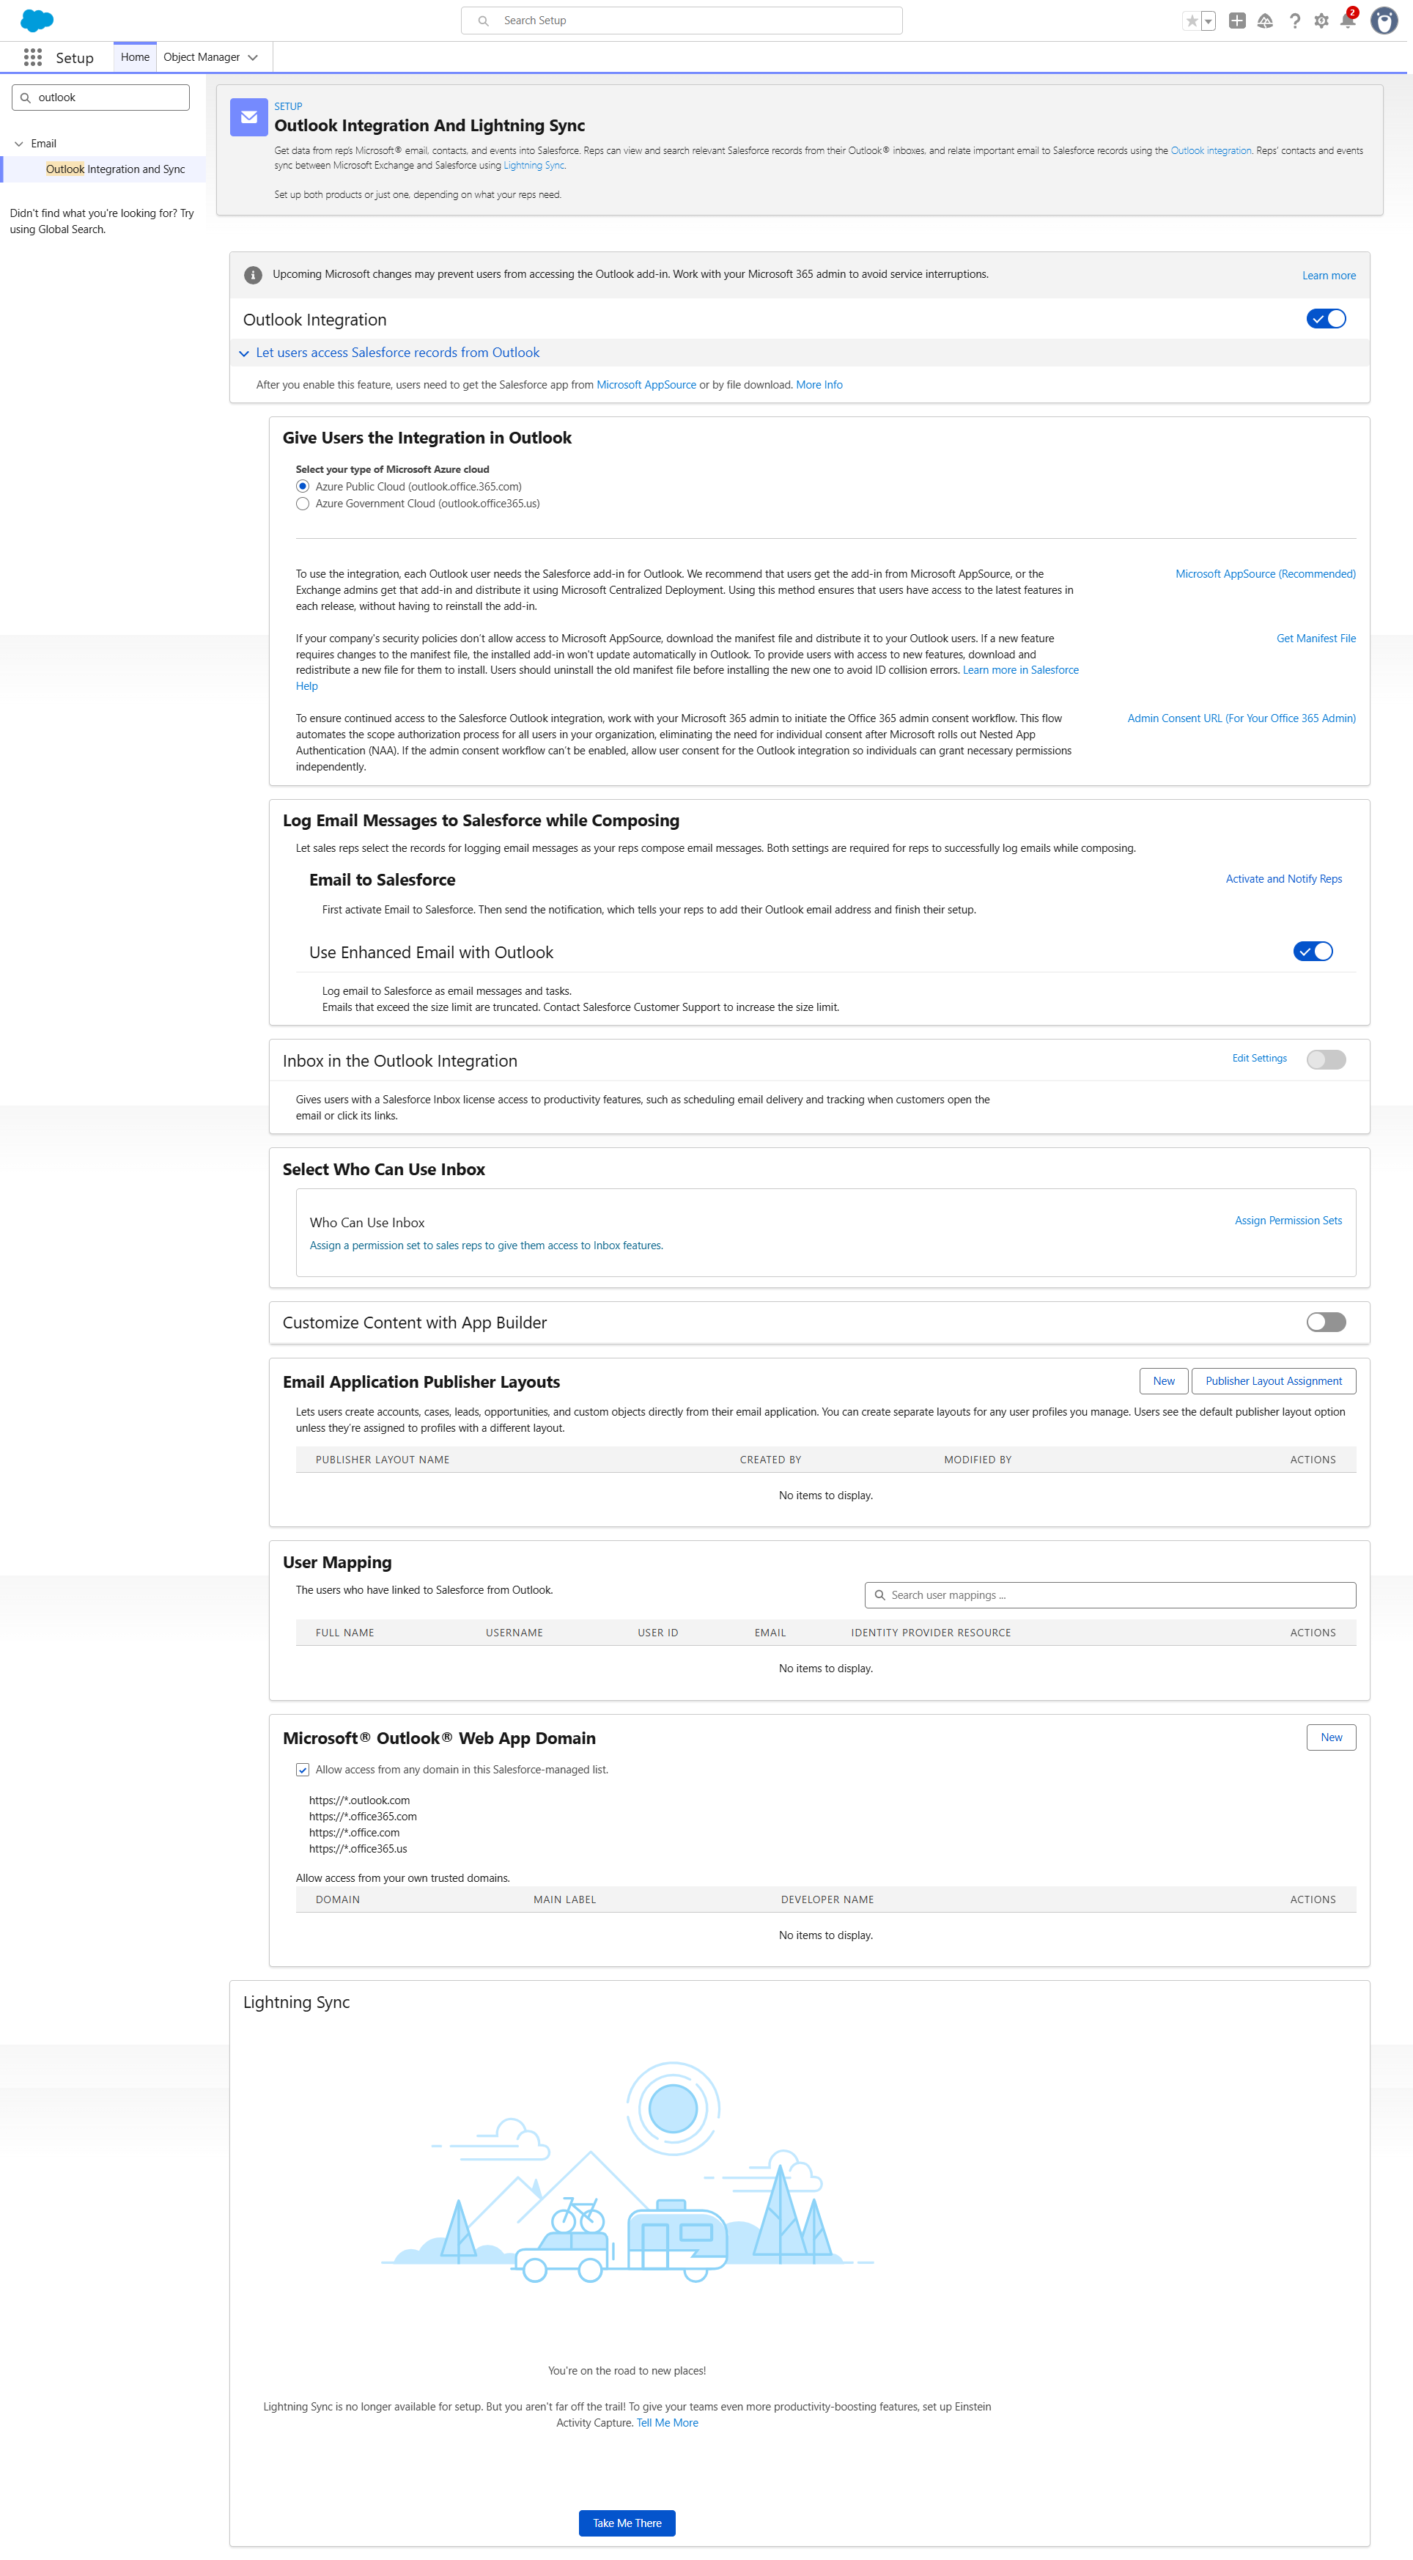
The integration relies on enabling the feature and defining the customization settings within Salesforce Setup.
- Enable Outlook Integration:
- Navigate to Setup: Click the gear icon (⚙️) to Setup.
- Find Integration: In the Quick Find box, type Outlook Integration and select it.
- Activate: Ensure the feature is enabled.
- Email to Salesforce:
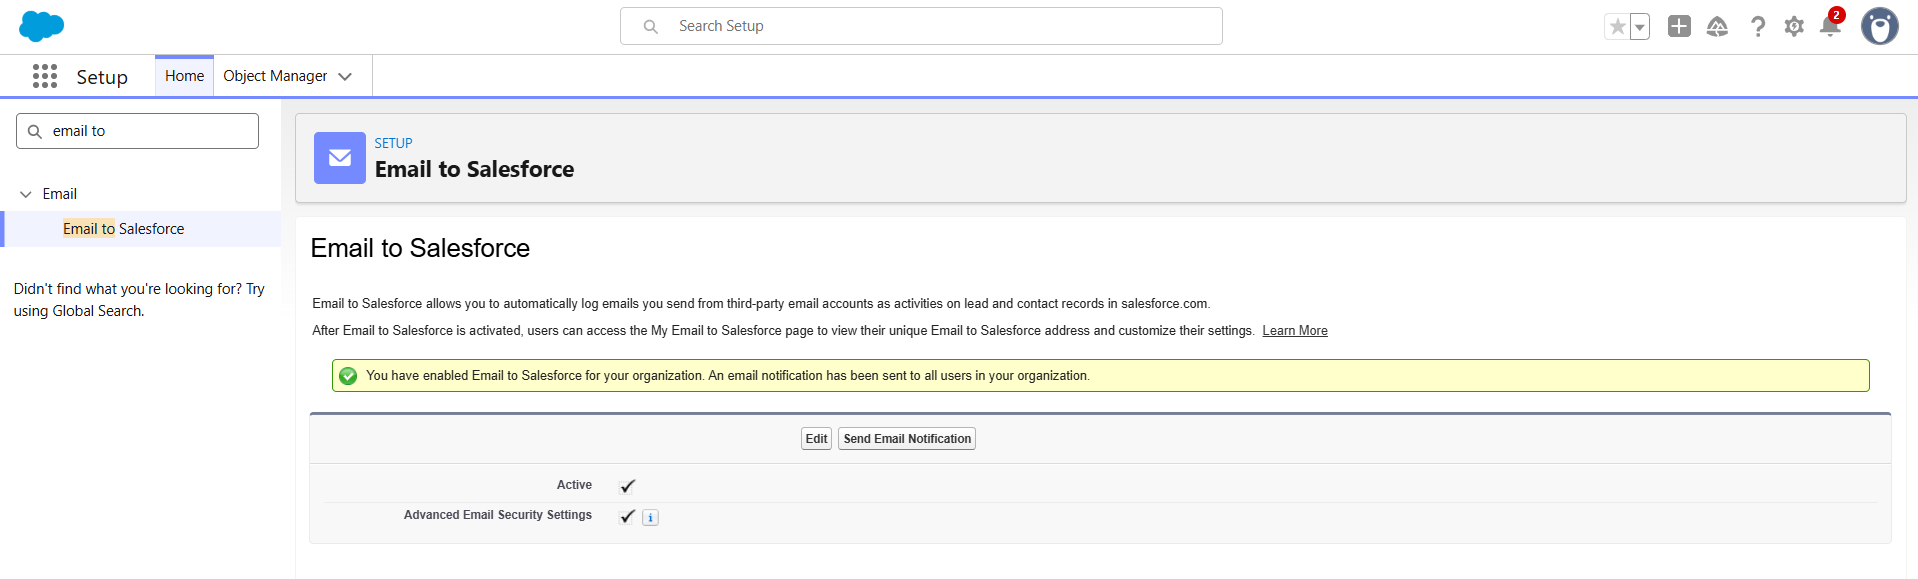
- Find Settings: In Quick Find, type Email to Salesforce and select it.
- Optimal Action: Ensure this is enabled. This feature is vital as it provides users with a unique address to forward emails to, automatically logging them in Salesforce.
- App Builder Customization: Customize the data the user sees in the Outlook side panel (the “Integration Pane”).
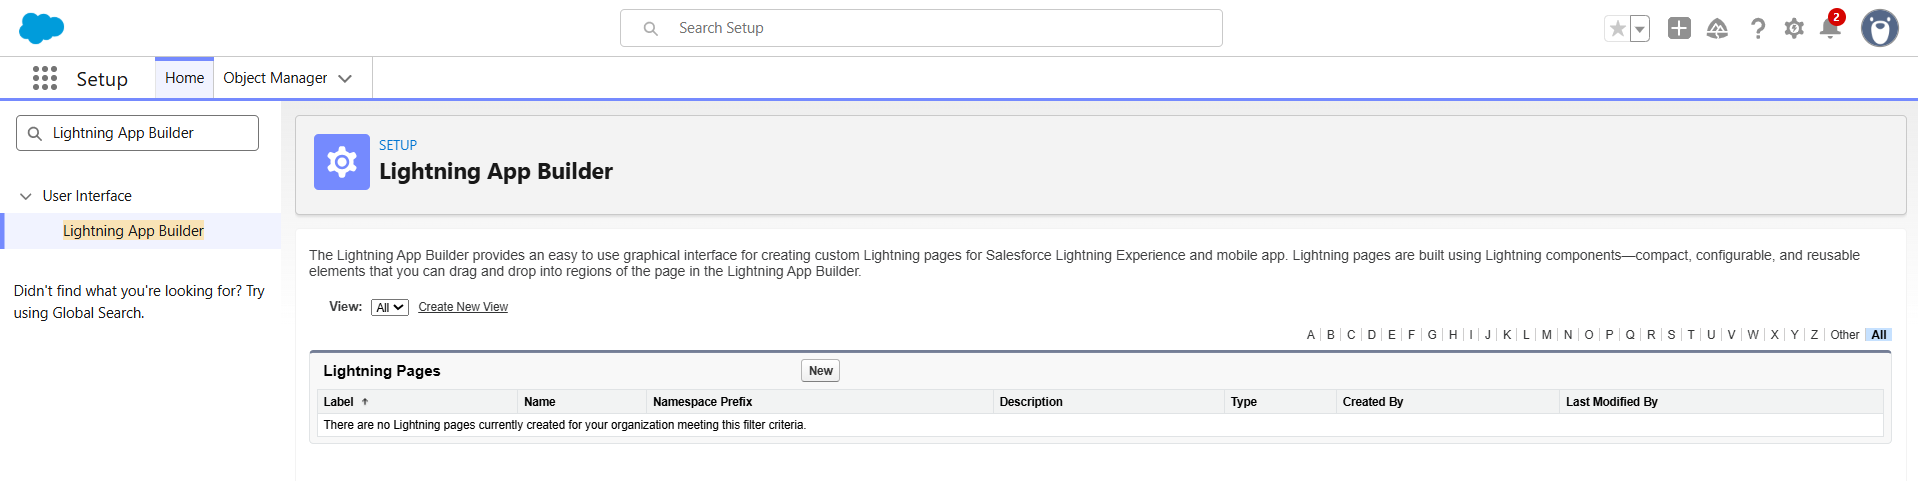
- Action: Use the Lightning App Builder to define the fields and related lists that appear in the integration pane for objects like Leads, Contacts, and Opportunities.
Step 2: Install the Salesforce Add-in (Outlook User)
The integration is delivered via a Microsoft Office Add-in that users install directly in Outlook.

- Access Add-ins: In Outlook, navigate to the Home tab and click “Get Add-ins”
- Search: Search for “Salesforce” or “Salesforce Integration.”
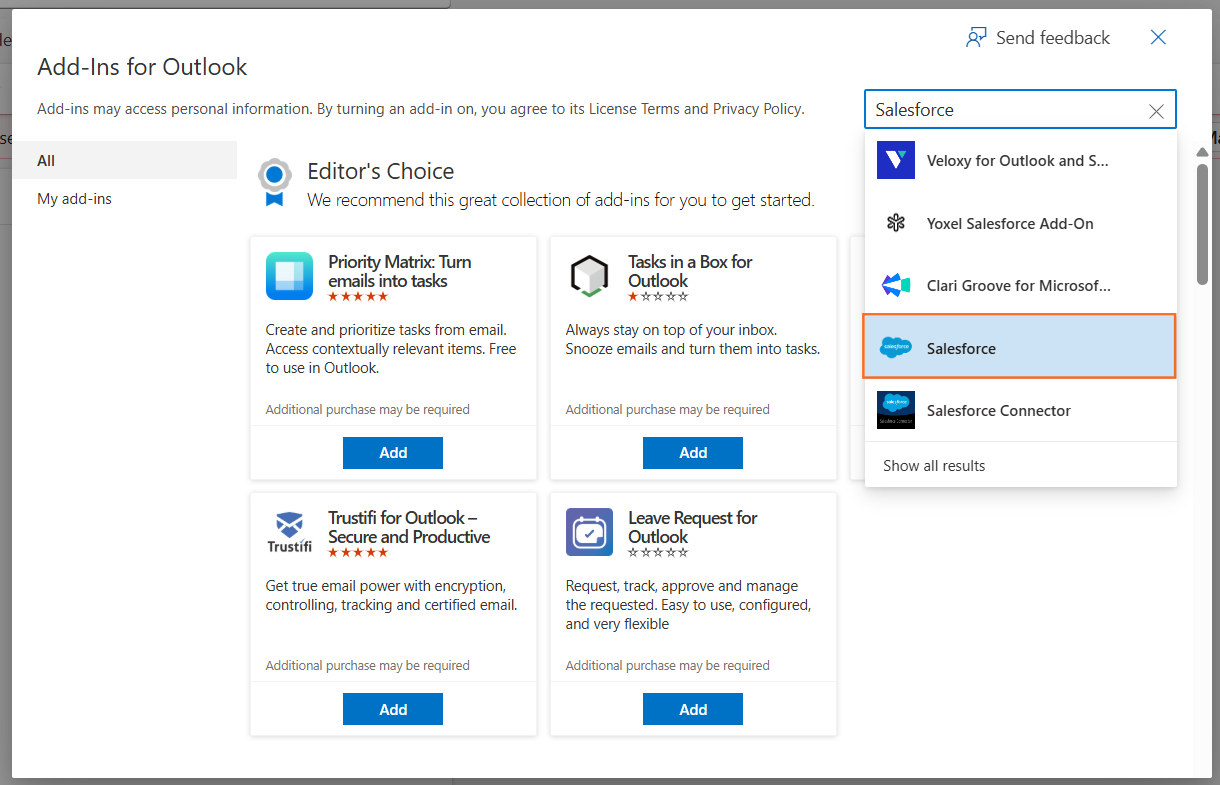
- Install: Click “Add” or “Install” next to the Salesforce integration.
- Pin (Optimal UX): Once installed, open the add-in in an email. Click the pin icon to keep the Salesforce panel open persistently on the side of their Outlook window.
- Log In: The user will be prompted to log in to their Salesforce account via the Outlook side panel to complete the connection.
Step 3: Key Functionality and Optimal Use
Once connected, users can leverage several powerful features:
Feature | Action in Outlook | Salesforce Result |
Email Logging | Click “Log Email” in the side panel. | Automatically logs the email and its attachments to the matching Contact or Lead record in Salesforce. |
Record Creation | Use the side panel to enter data. | Allows users to create new Leads, Contacts, or Tasks in Salesforce directly from Outlook without switching apps. |
Data Synchronization | View and edit fields in the side panel. | Users can view and edit Salesforce fields (e.g., update an Opportunity Stage) directly in the Outlook panel, ensuring data is always current. |
Einstein Activity Capture (Advanced) | Enabled by Admin in Salesforce Setup. | Optimal Action: Automatically logs all emails, events, and related data between Salesforce and Outlook without the user needing to click “Log Email” every time. |

 Salesforce

