


Creating a new Salesforce user is a critical administrative task that involves defining the user’s personal details, licensing, profile (which controls permissions), and role (which controls data hierarchy). A well-configured user ensures system security and adherence to your business processes.
Step 1: Initiate User Creation
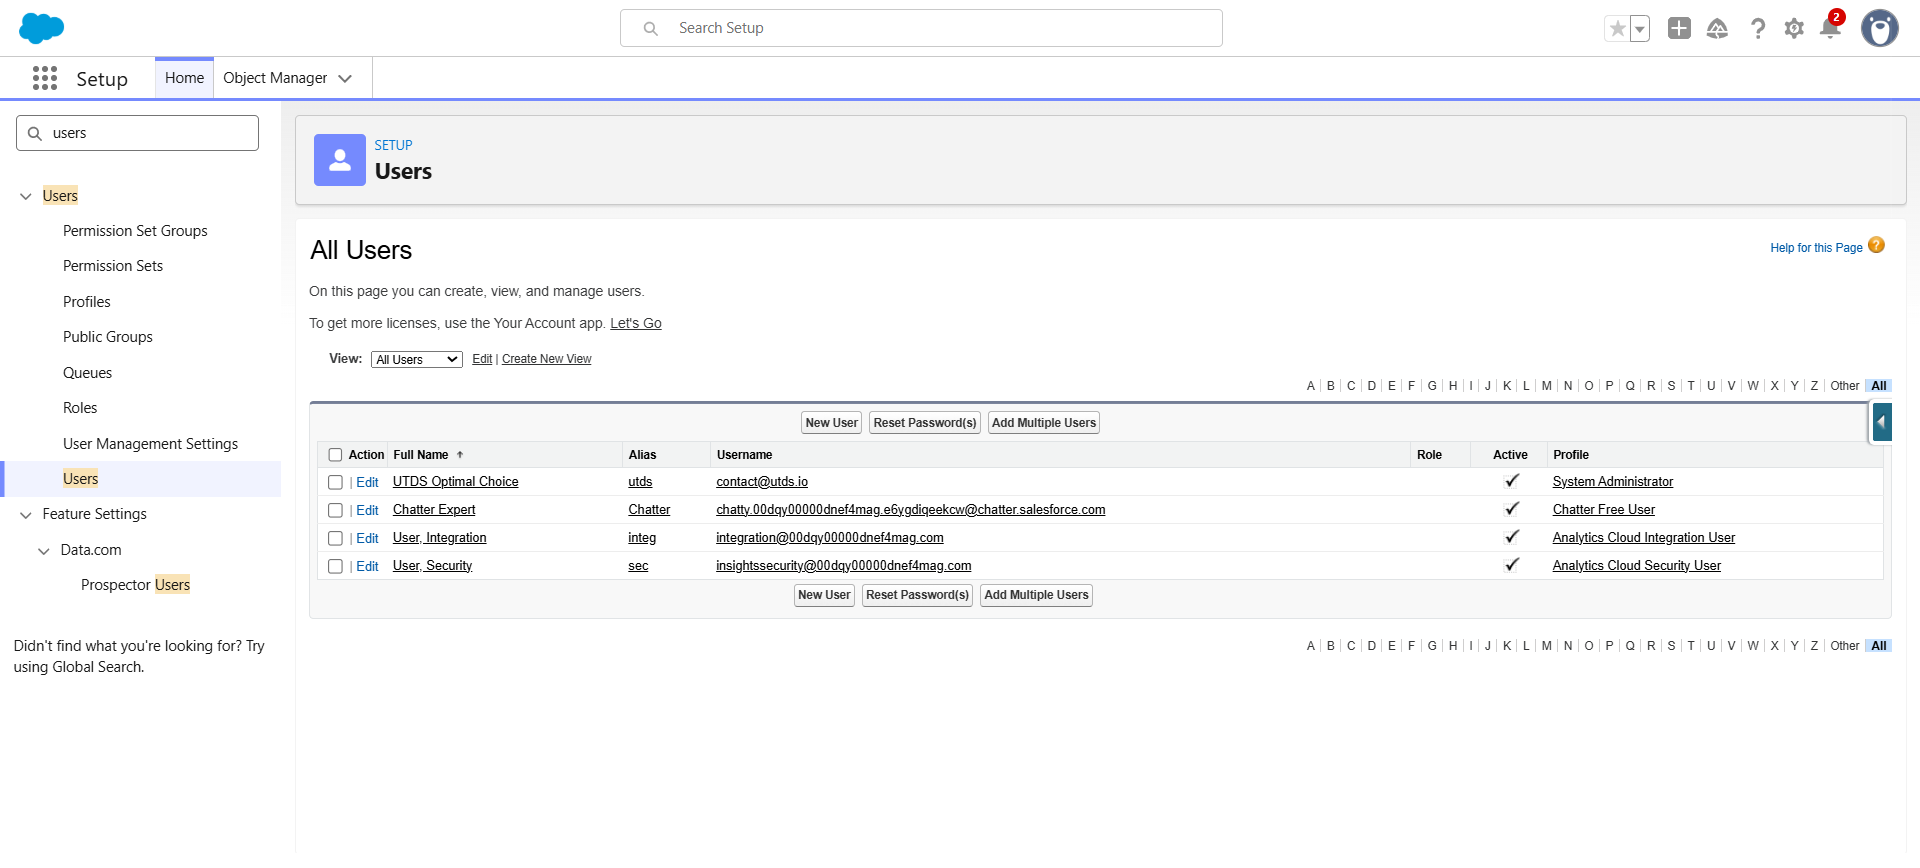
- Navigate to Setup: Click the gear icon (⚙️) to Setup.
- Find Users: In the Quick Find box, type Users and select Users under the Administration section.
- Create New User: Click the “New User” button.
Step 2: Define Personal Details
Fill in the standard personal and contact information for the new user.
Field | Requirement | Optimal UTDS Choice |
First Name / Last Name | Standard contact details. | Use the user’s legal name for easy identification. |
Alias | A short, unique identifier (e.g., JDOE). | Automatically generated, but ensure it is unique. |
The user’s primary email address. | This email is used for login credentials, password resets, and notifications. Must be valid. | |
Username | Must be unique across all of Salesforce (looks like an email). | Best practice is to use the same value as their Email (e.g., contact@utds.io). |
Nickname | A unique short name for chat/collaboration (e.g., JDOE_UC). | Automatically generated; ensure it is unique. |
Step 3: Assign Licensing and Permissions (Crucial Step)
These settings determine what the user can access within the Salesforce platform.
- User License: This determines the baseline features the user can access.
- Our Choice: The most common license for sales and service reps is Salesforce. For limited access or specific use cases (like partner portals), you may use Platform User or External Identity.
- Profile: This is the most important security setting. It defines what the user can DO (e.g., edit accounts, delete leads, view reports).
- Optimal Choice: Clone an existing standard profile (e.g., Standard User) and customize it, or select a Custom Profile that already aligns with the user’s role (e.g., Custom: Sales Profile). Never use the default System Administrator profile for non-admins.
- Role: This defines what data the user can SEE based on the organizational hierarchy (Sharing Model).
- Optimal Choice: Select the role that corresponds to their position in your organization’s hierarchy (e.g., UK Sales Manager). This is critical for data visibility through Sharing Rules and Report Visibility.
Step 4: Finalize Settings
- Generate New Password and Notify User Immediately: Check this box to automatically email the user their login credentials with a temporary password. This is the final step to activate the account.
- Click “Save.”
The user will receive an email and must click the link to set their permanent password and complete their first login.

 Salesforce

