


Adding your business to Bing Places for Business is a critical step for local SEO, as it ensures your business appears correctly in Bing Search results and Bing Maps. The process is straightforward, especially if you already have a verified Google Business Profile (GBP).
Bing even provides a feature to import your GBP data, which saves time and, most importantly, maintains NAP (Name, Address, Phone number) consistency, which is vital for SEO.
Phase 1: Create Account and Start Listing
Step 1: Sign In to Bing Places
- Go to the Bing Places for Business website (it often redirects to the main Microsoft business portal, look for the ‘Sign In’ or ‘Get Started’ button).
- Sign in with your Microsoft Account. If you don’t have one, click “New user” to create a new account (you can use any email address).
Step 2: Choose Listing Method
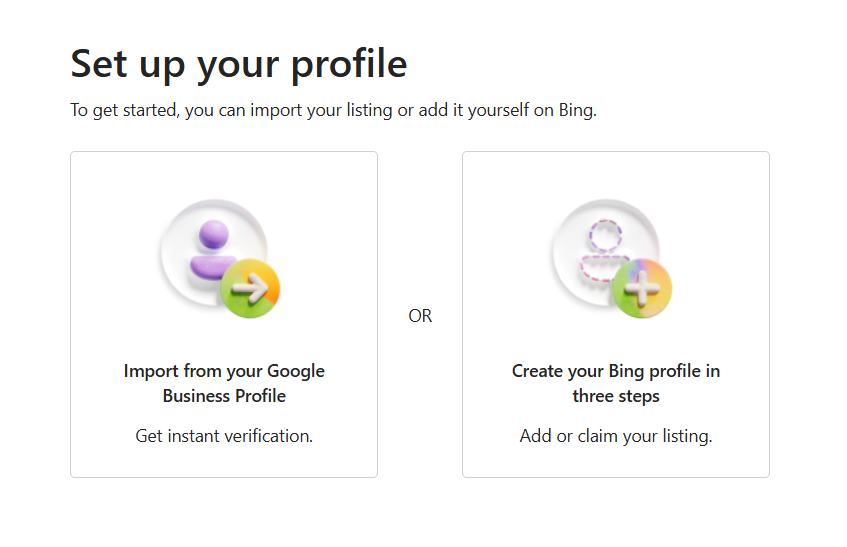
Once logged in, Bing will ask how you want to create your listing. You will see two main options:
- Import from Google Business Profile (Recommended): This is the fastest and easiest method, and if your GBP is already verified, Bing will often grant instant verification.
- Claim or Add Your Business Manually: This is the default path if you do not have a GBP or prefer to input the details yourself.
Phase 2: Import from Google Business Profile (Fast Track)
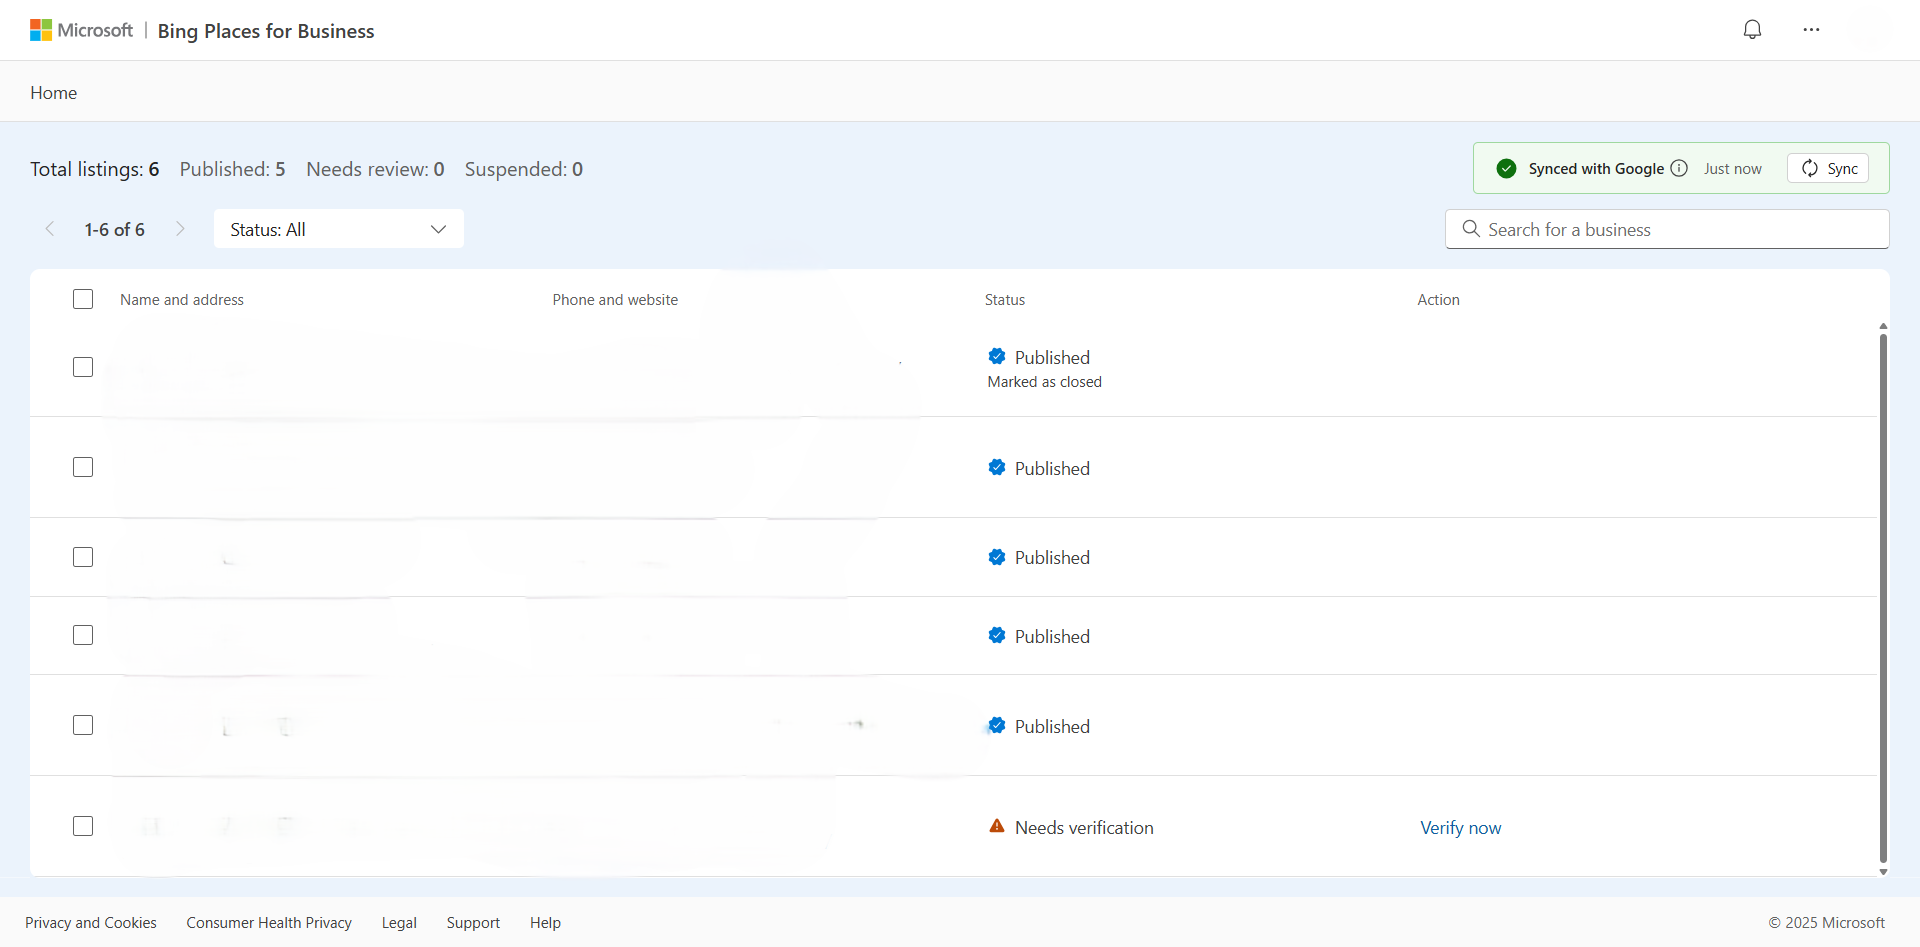
- Click “Import from Google My Business now.”
- Connect Google: Sign in to the Google account associated with your GBP.
- Select Business: Choose the business location(s) you want to import (if you have multiple).
- Confirm Details: Bing will automatically copy all your data. Review the imported information (Name, Address, Phone, Hours, Photos) to ensure it is 100% correct and consistent with your GBP.
- Click Submit and proceed directly to verification (Step 4).
Phase 3: Add Manually (If Importing is Not Possible)
- Select the “Claim or Add Your Business Manually” in the top right by clicking option.
- Search for Business: Enter your business phone number or name and address to see if Bing already has a listing for you (they often pull data from other sources).
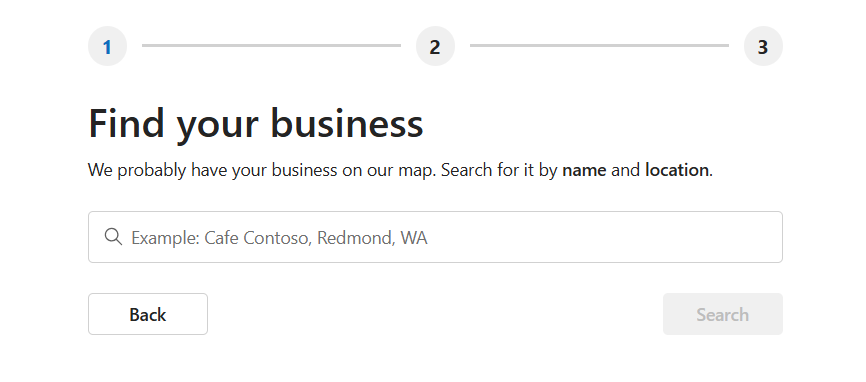
- If found: Click “Claim business” next to the existing listing.
- If not found: Click “Create new business” and proceed to enter all your business details from scratch.
- Complete Listing Details: Fill in all fields accurately, ensuring your NAP details match your golden record:
- Business Name, Address, Phone Number
- Website URL, Business Category (you can add up to 10)
- Hours of operation
- Detailed, keyword-rich description
- Upload high-quality photos.
Phase 4: Verify Your Business Listing
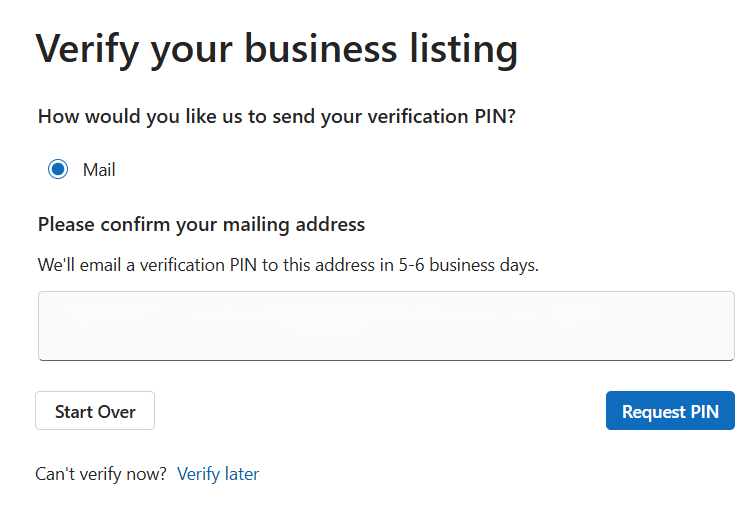
Regardless of whether you imported or created the listing manually, you must verify ownership.
- Select Verification Method: Bing will offer verification options based on your business data. Choose the fastest one available:
- Phone Call/SMS: Receive a PIN via your registered business phone number.
- Email: Receive a PIN via an email address that matches your business domain (e.g., info@yourbusiness.co.uk).
- Postcard by Mail: Receive a physical postcard with a PIN (takes 5-12 days).
- Enter PIN: Once you receive the PIN, log back into your Bing Places dashboard and enter the code to confirm verification.
After verification, your listing will go live on Bing Search and Bing Maps. You can then use the Bing Places dashboard to monitor views and make future updates.

 Salesforce

